Olive Blog

Talking To My Socks

Comments Off on Talking To My Socks Written on August 6th, 2016 by
Categories: Decorating Ideas, Olive Blog, Uncategorized
Tags: , , ,

IMG_3768

The bestselling Marie Kondo book, The Life-Changing Magic of Tidying Up, has a lot of fans and detractors.  I decided to read it after several people,whose opinions and values I shared,  had recommended it,  Many of her practical suggestions include organizing like-things together, storing things for optimal access and viewing, and letting go of extraneous things; all which resonated with me.  Sometimes her suggestions were outside my normal scope of organizing activity; e.g., in one section, she instructs you to roll your socks in pairs and to thank them for their service in taking care of your feet.  As one article I read about the book noted, if millions of Americans have read it, and even a fairly small percentage follow her edicts, then we have  thousands of people in America talking to their socks.

My take-away on the book was the way she makes you think about organizing, which trumps any misgivings I have about speaking with my garments or household items.  While I first thought some of her methods were a little extreme, or too sentimental (or inaccessible, as far as time commitments goes), I eventually found that I began looking at spaces and re-organizing them without over-thinking it after reading her book. It feels more organic now.  Thus far, the changes have been ‘sticking’ so I feel like the book is as much about the mindset as it is about the practical advice. I manage organizing with minor incursions through cabinets, drawers and closets instead of the wholesale practice she recommends.  It works for me, as waiting until I had time to do a major sweep through all the cabinets or all the closets would be like waiting for Godot.

The before and after of my pantry;  I am no longer embarrassed if the door is left open-

IMG_3730


…Before…


                   IMG_3771 (1) …After

Then, I moved onto bigger game.  A client’s heavily used laundry room in a co-housing space for 5 adults had fallen into disrepair and was choked with clutter.  I was able to offload many bags of trash, and organize other items into the laundry room so shared items are easily found; this opened up space in other parts of the apartment for much needed storage.

Before..

Laundry  Laundry before 2Laundry before 4


After…

Laundry after 1   Laundry after 2   Laundry after 4   Laundry after 3

Best of luck in your organizing endeavors! Tell your socks I said hello.

Silk Purse/Sow’s Ear

Comments Off on Silk Purse/Sow’s Ear Written on March 11th, 2014 by
Categories: Decorating Ideas, Olive Blog, Olive Design, Olive Green
Tags: , , , , ,

Curbside or thrift shop treasures while a bargain, usually lead me to the question- will I ever really fix this up to use it?   It depends on the level of decreptitude- or for me, if it’s the exact size piece I need for the space, and if its basically a better piece of furniture than I can buy cheaply.  While my kids hated the groovy painted furniture I put in their rooms and pined for Ikea almost-wood, I prefer a solid piece of real wood furniture in a classic shape and solidly built.  I can see past the peeling paint and occasional dangling part to what it could be with a little elbow grease.  But filling the space requirements is usually what tips me into actually doing the work on it.

My latest rescue was the perfect sized bookshelf for my bedroom, when my excess books were stacked in front of the radiator and collecting dust on the floor. It was old, had a gazillion coats of paint, some peeling and the front leg was cracked.

Before you do anything, take off any paint that looks like it is ready to jump ship anyway, using a spackling knife rather than a scraping tool, so you don’t pull up tight paint- I didn’t want to strip it (way too much work for this piece) but if you have any notions that new paint glues down peeling old paint, disabuse yourself of that idea.  It usually means your new paint will soon come off as well.  Top coat is only as secure as the bottom layer.

After the removal of loose stuff, take a sander to it- it will smooth down the previous layers, some of the brush marks and let you know where drips are that you haven’t noticed.  Sometimes I help those off with a sharp razor.


Orbital palm sanders are cheap and easy to use, they should be  a part of any handy-person’s tool collection.

Fix the busted leg- I use an old your-name-here credit card that comes in the mail every day with new card offers, its just the right thickness to work the glue into the crack.


I use clamps to hold it in place while it dries, and glued a block into the corner behind the leg to give it more stability.  Cut the block down so you can’t see it from the front.  I clamp the leg so the glue can set.

Then predrill a hole, and run a flat head screw into several points to give it extra strength and stabilize it.

If you have the bits, its nice to counter sink the hole (a wider hole at the top to accommodate the flat screw head) so the screw isn’t noticeable, you can fill the top with compound to make it invisible. This fix it step took about 20 minutes, and now I don’t have to worry about the leg cracking off, and the fix is invisible.

For the paint job, I use the same type of paint, in this case oil-based.  I prefer alkyd paint for furniture anyway, as its tougher, but always best for paint adhesion to stick to the original paint type. For my color, I mixed some leftover oil based paints, to get something fairly close to the wall color.  I want the bookcase to blend in, not stand out.  If it was a more interesting accent piece I might have gone with a bolder color.

Once it’s done and in place, I’m glad I took the time!


For all the pinners out there:

My Pink Bathroom Update

In the spirit of preserving the past with a contemporary twist, here is the completed update on the Pink Bathroom project. As a quick recap, this idea started with a visit to the Save My Pink Bathroom blog. As it turns out, there is an entire community of enthusiasts fighting to “save” their mid-century pink bathrooms. As Pam describes her mission:

“This little website grew out of mid-century home lovers’ concern that pink bathrooms were being ripped out of post-war American homes way too hastily. How sad it is, to catch a TV makeover show that rips out a perfectly beautiful vintage bathroom… Seems like a bunch of the rest of the world — well behind our curve — actually dislikes mid-century pink bathrooms.  They will regret what they have done.”

Often here in Flatbush with our turn of the century homes it was a mid-century decision to “modernize” the bathroom in the newly popular pink color. The tradition of the pink bathroom emerged from the former first lady Mamie Eisenhower, in office 1953 –1961.

Looking at them now, they are totally dated, but with the wrong date stamp for our late victorian houses. Fiscal prudence often dictates embracing the pink bathroom and working with what you have, and I have grown quite fond of mine.  It must be the fourth pink bathroom I have had since I started householding. For a low-cost, low-environmental impact project, here are my tips on saving your pink bathroom – or redecorating any bathroom for that matter.

I was missing a few pink bullnose tiles that had fallen out and broken years ago, and pulling the medicine cabinet out of the wallOlive Design Bathroom damaged a few more.  As per my previous blog on this, I sent one of the samples to Chippy Scaparelli at World of Tile. She sent back 4 tiles that were a perfect match.  Thanks to Pam for featuring that tip on her site.  My contractor, John Duval, replaced the missing tiles and you can’t tell now which ones they were, it is seamless.  I opted to have the contractor regrout the entire bathroom.  What a huge improvement, it looked brand new, sharp crisp and clean. Worth every penny, and my contractor was amazing in keeping the mess contained- he wiped down the stairs as he was leaving so it wasn’t tracked all over- I was very impressed.


I discovered that “clear” in powder coating is 1. More expensive and 2. Not clear at all but a weird taupey/gray.  It looked awful.  The folks at Evernu Metal were kind enough to offer to recoat it in white. It wasn’t what I was going for originally, but it looks fresh and pretty against the bright white new grouting.  The inside I painted turquoise, just for fun.

I knew what color I had in mind for the walls, and in the spirit of both thrift and environmentalism, I went down to my shop in the basement and mixed up just the color I needed using various leftover paint samples.  Mixing left over paint is a great alternative if you don’t want to discard it or wait for the yearly collection of hazardous waste materials that the city sponsors. If you don’t have any leftover paint from previous projects, go to Build-It-Green NYC, arguably the best source of paint for a low-cost project. They have gallons upon gallons of paint in their Astoria warehouse.. many for $5 a can. They get their supplies donated from surplus construction and renovation projects, so if you can’t re-use your own paint, re-use theirs! (P.S. they also have another location in Gowanus, Brooklyn). Another place with the same ethos is Habitat for Humanity’s ReStore for those of you located in Westchester, Long Island, and beyond.

The shower curtain and window fabric that I used was made from yardage I had hand screened printed while an apprentice at the Fabric Workshop in Philadelphia after college. The colors worked well with both tile and wall color, and I liked the funky pattern in here- and bonus point, I already had the fabric, and was glad to see it used.

My pink chandelier was up-cycled from a table lamp part that I converted into a hanging fixture, and painted to match the bathroom.  The ceiling in the bathroom is dropped and made of some sort of acoustical tile that had seen better days.  I had routinely painted it gloss white in the past to freshen it, but I took the opposite tack here and made another “mary mix” paint from the samples stash, and came up with a nice charcoal gray.  It looks dramatic, and helps hide the flaws in the ceiling.  The dark color seems to make the ceiling float up and away

As with most projects, this one took about twice as much time as initially anticipated. Overall, I am pleased with the outcome and loving my pink bathroom!


Would love to hear your comments on my Facebook page on how you’ve updated your own bathroom with a budget and environmentally conscious approach.
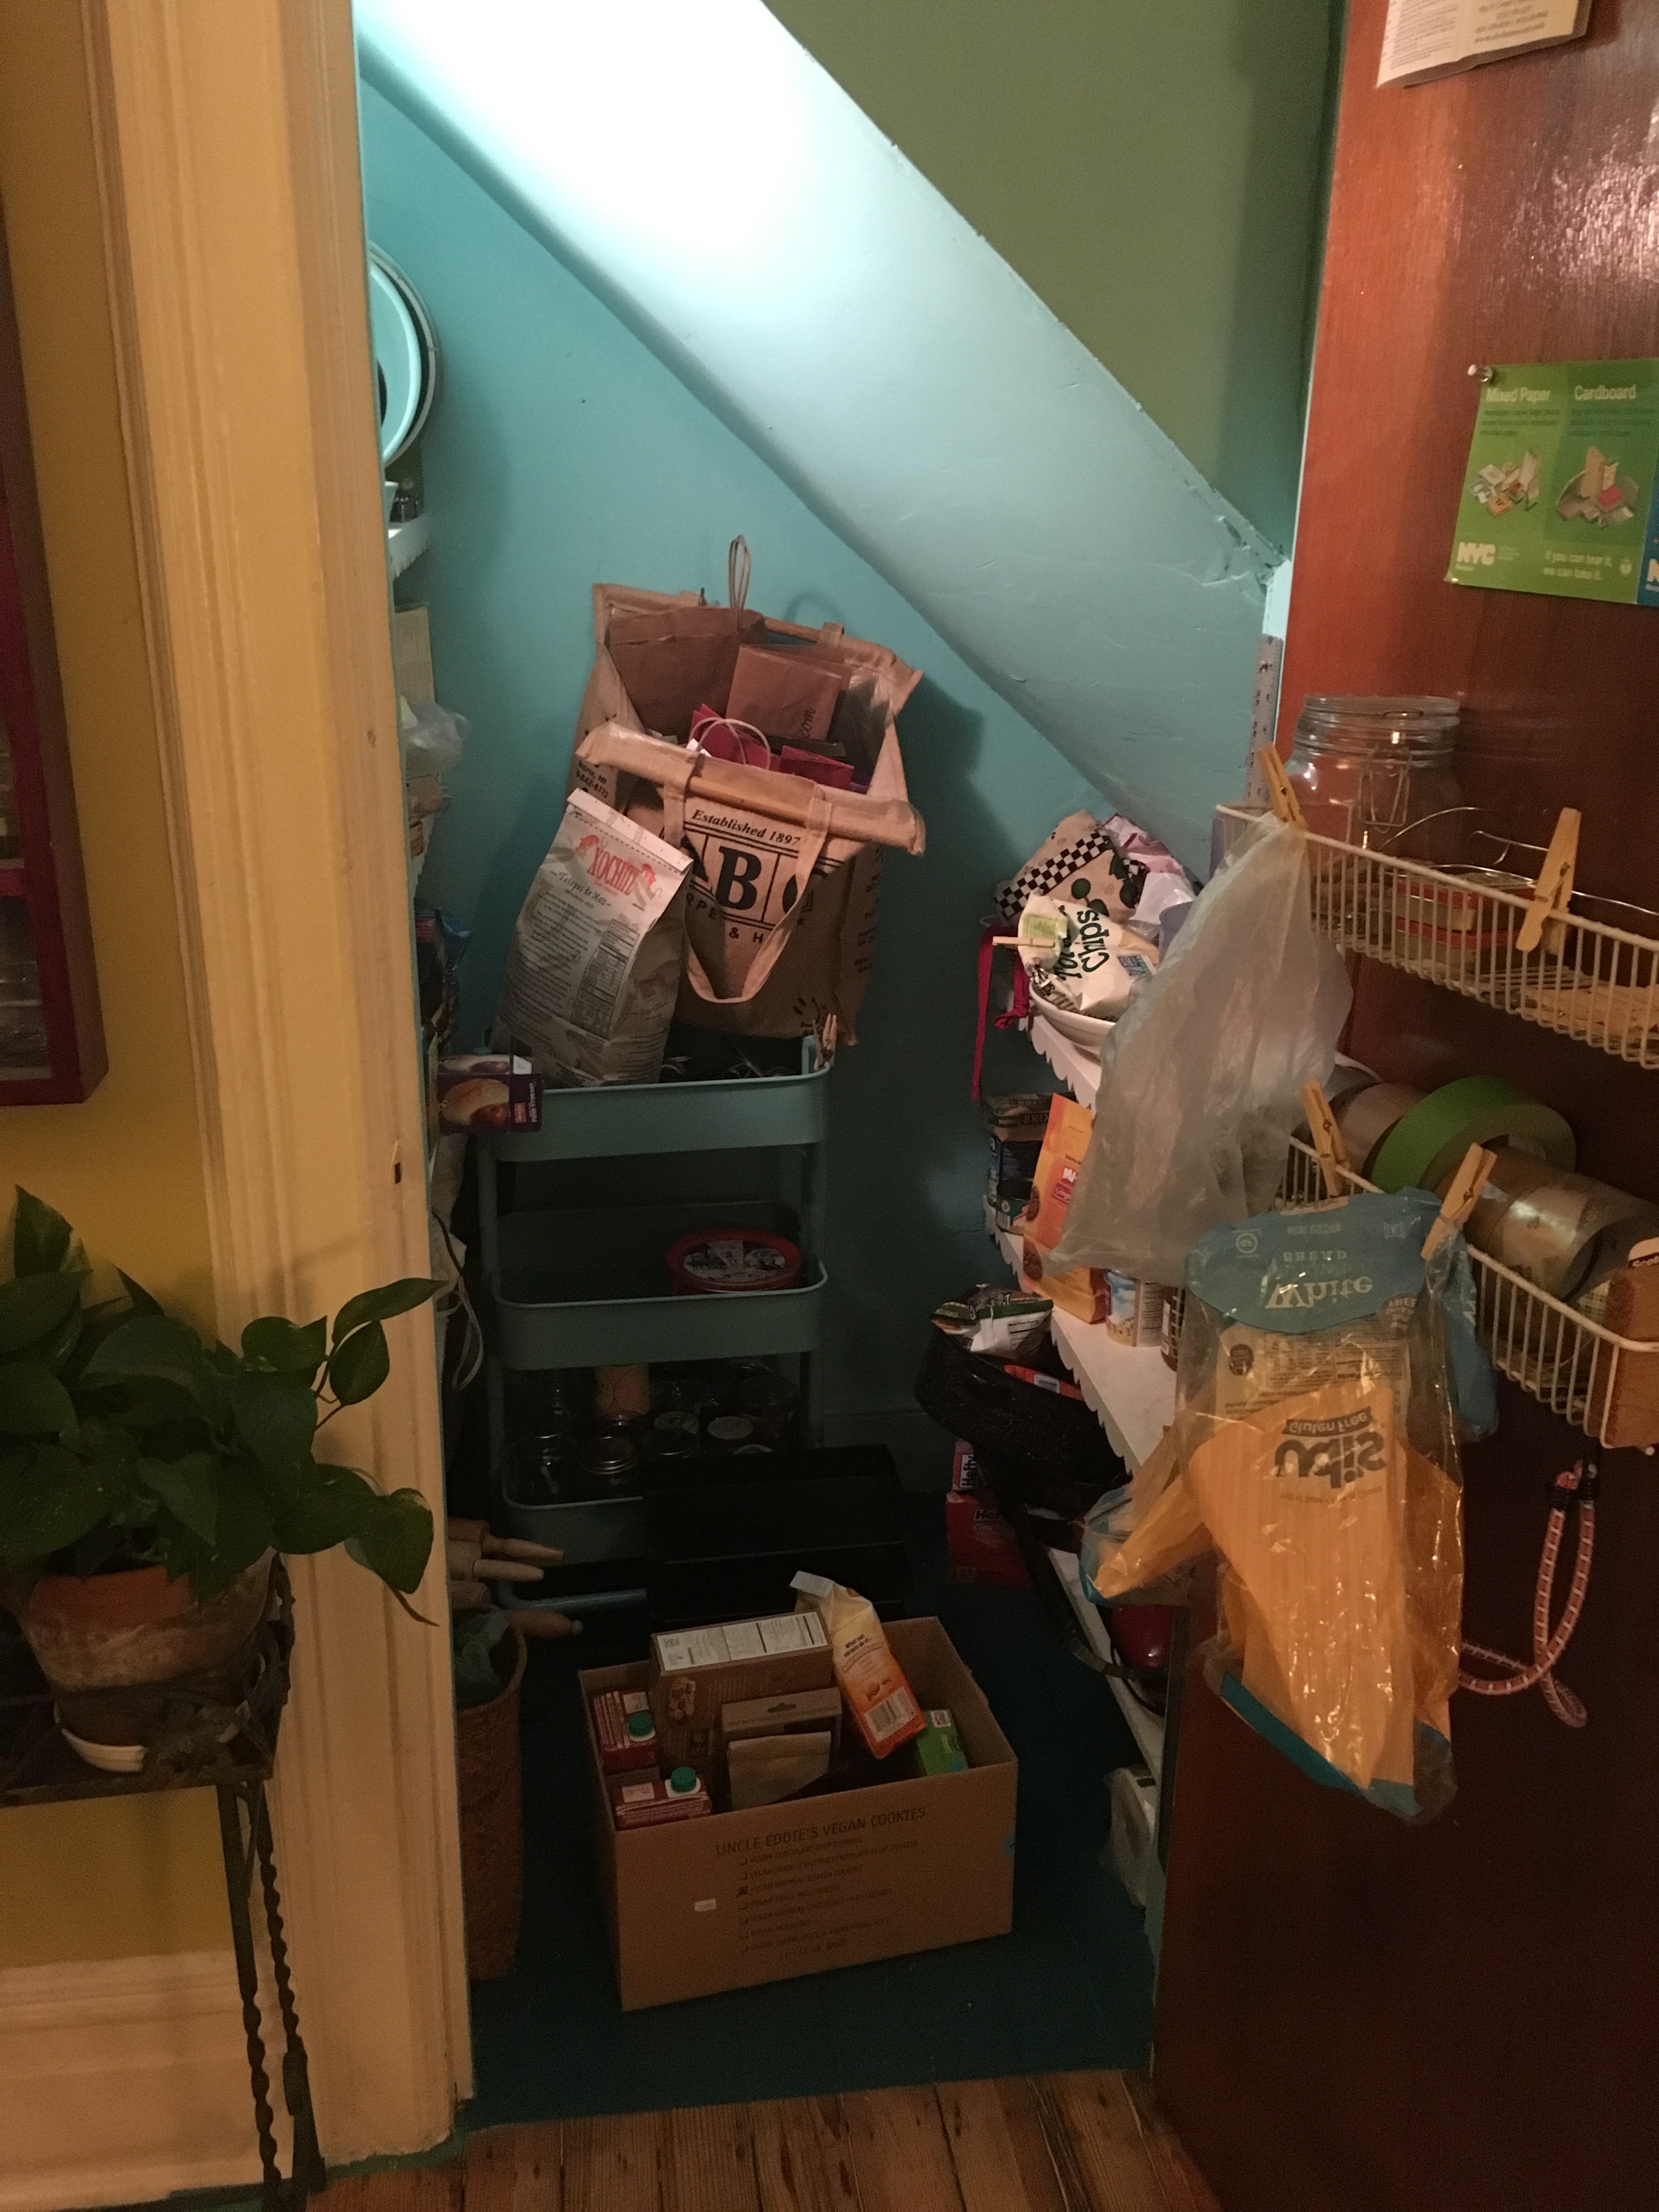
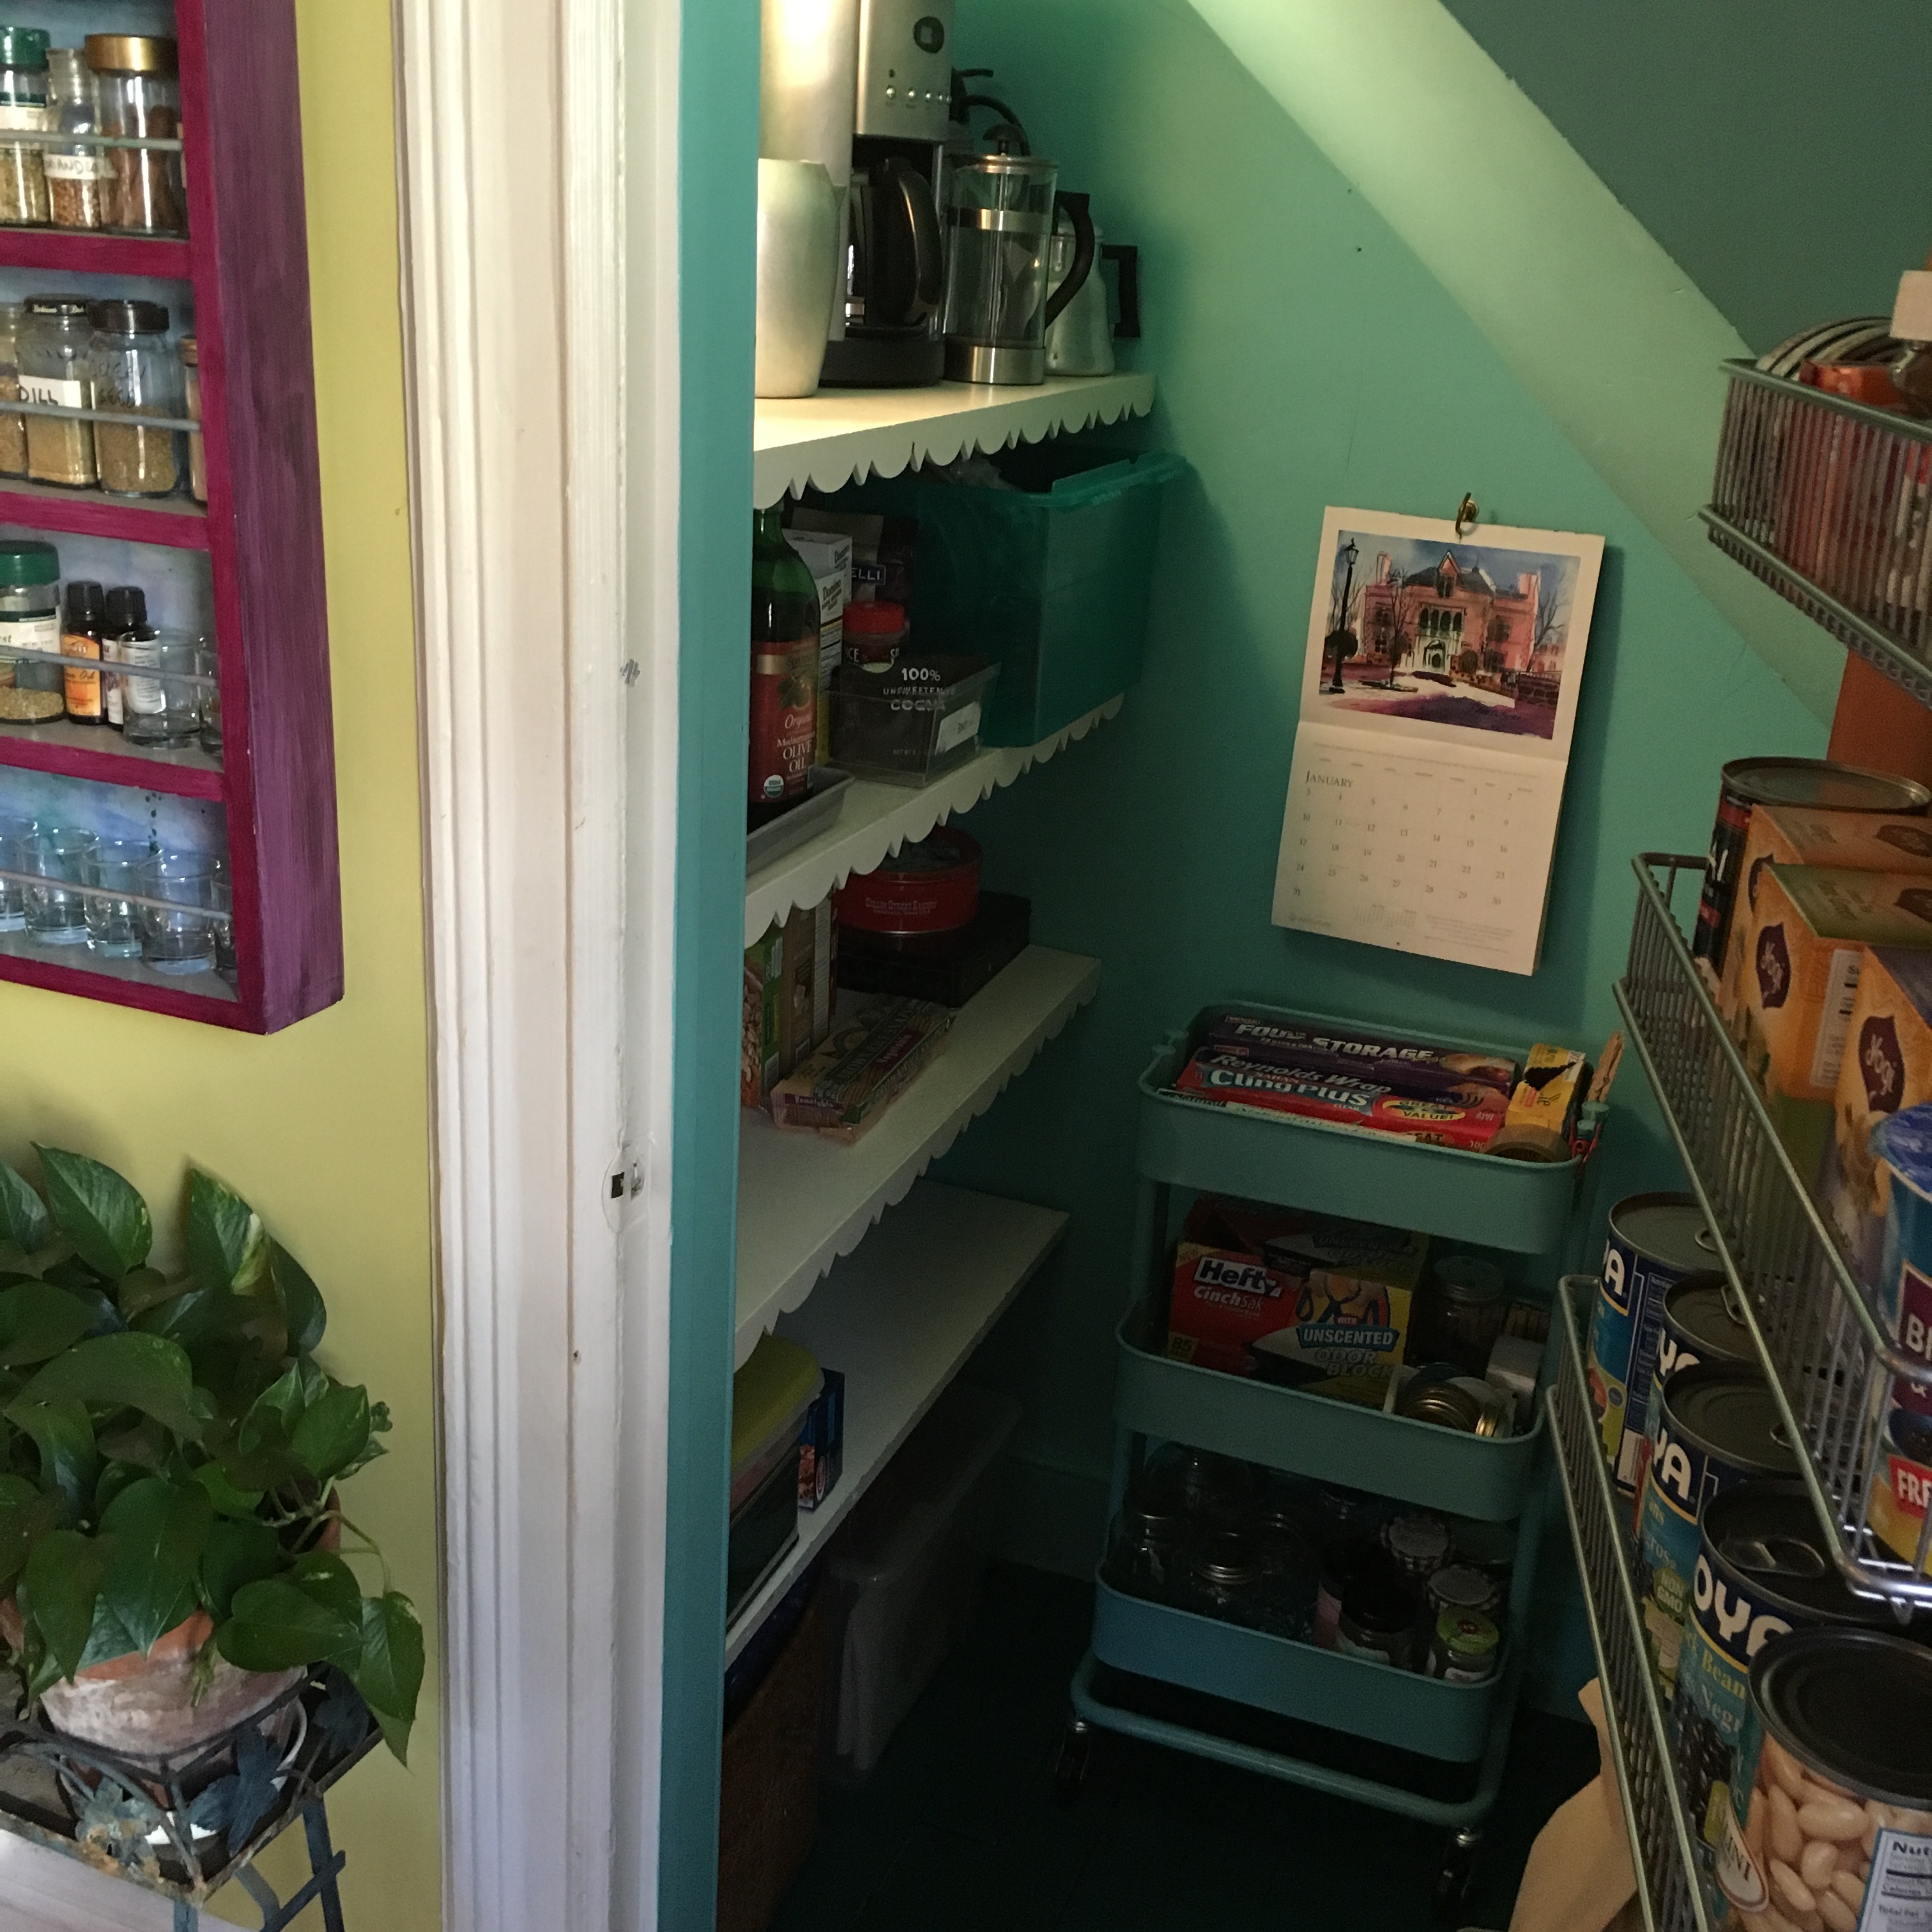
 

Recycled Lights

Comments Off on Recycled Lights Written on June 6th, 2012 by
Categories: Decorating Ideas, Olive Blog, Olive Design
Tags: , , , , , , ,

One of my favorite pieces from the ICFF show was the lamp made from recycled 45”s by GIN Art and Design. I liked the great colors and repurposing of the original material.  GIN Art & Design was founded by Orlando Dominguez (pictured) and is based here in Brooklyn.  There was some really cool stuff on his website- I wish I had seen his artfully mis-matched chairs in time for my blog post!

Other lighting that featured recycled material came from the company graypants. Their line is called “SCRAPLIGHTS™ –responsibly reimagining cardboard boxes”.  According to their brochure, SCRAPLIGHTS are made from salvaged cardboard and non-toxic adhesive. Because they use the boxes as is, they have a great natural look, similar to wood in tone. The hanging fixtures come in really fantastic shapes and sizes.

Using the same material, CartonPlanet comes up with a whole other animal. Their cardboard is less natural looking and is taken to the next level. They wax lyrical about the humble  material-

Cardboard is a symbol of revival.  It is fallible but indestructible, and at the same time it can surprise us with its obedience and persistence over and over.

Their lights are lovely but the fun doesn’t stop there- they have great furniture as well, made from recycled cardboard- coffee tables, chairs, sofas and shelving.

And for more recycled material lighting fun- I met Bao-Khang Luu when I was in the Sustainable Entrepreneur program at FIT.  He was making “upcycled” lamps from discarded materials.  The process of upcycling is described on the website for his company, Relevé Design:

When we’re done with magazines or plastic bottles we usually throw them away. Sometimes we reuse them. Other times we recycle. Recycling actually downgrades the material. For instance, the quality of plastic lessens each time it’s recycled. Different types of plastics and impurities get mixed together, weakening the plastic. Fortunately, there’s a better way to deal with waste, and that’s upcycling.

…Upcycling is an eco-friendly way of repurposing, because it only uses unwanted and discarded materials and transforms them into something new, desirable, and more valuable….In our case, we save six-pack rings from being dumped into a landfill or downcycled into low quality plastic, and we make them into new, fabulous lighting.

Bao has an amazing line of pendant lamps made from 6-pack plastic holders. And he is ever forthcoming with fantastic ideas for repurposing, check out this intriguing metal lamp spotted on his website, made from an easily recognizable commodity.

Mismatched

Comments Off on Mismatched Written on April 20th, 2012 by
Categories: Decorating Ideas, Olive Blog
Tags: , , , , ,

It seems to be the style now to piece different fabrics together in a single chair or sofa.  Often, historically the backs of chairs might feature a jaunty mismatched pattern, say a stripe or check to contrast with the damask front. Being resourceful, I always had a lot of smaller pieces of leftover fabric and would often use them to make a whole chair or sofa cover.  And now I see this style in showrooms and magazines.

It can be very economical to find reasonably priced remnants- they are steeply discounted to reflect their bolt end status.  Recovering an upholstered chair requires up to 8-9 yards of fabric, and a sofa 16-22 yds.  These apricot and gold wing chairs were thriftily done with remnants for less than $200 and they look great as well. There were enough leftovers to make a window seat for the same room.

Often, I  use a contrast welting on upholstered pieces.  Not only do I like the contrast, but it can save a few yards of fabric as well, and if you are running it close to the needed amount, this option can help squeak you through.  But as shown on the gold chairs, you can “marry” two different upholstered pieces by having the same piping, as I did with the red welt on these chairs.  Ultrasuede makes fantastic piping, it is very durable, looks like leather, and comes in lots of colors.

I used lots of different fabrics and fluffy trim for a special chair for a little girl- we were trying to match a miniature chair she had been given as a toy.  (Just to be clear, this was NOT cost effective….but did produce the desired effect).

It can be a great way to change out upholstery that is problematic, the seat cushions are soiled or ripped and the rest of the sofa is fine, or as some complain, their kids keep sliding off the leather sofa.  I have suggested making just a new seat cover in a fabric that complements the whole sofa, and it is less costly than re-upholstering the whole piece.


Family Photo Dilemma

Comments Off on Family Photo Dilemma Written on April 13th, 2012 by
Categories: Decorating Ideas, Neighborhood Notes, Olive Blog
Tags: , , , , ,

Often when I am helping my clients with their spaces, we are re-organizing, as well as repainting. Disconcertingly we find layers of family photos on every available table top and surface. They sprout like mushrooms, in mismatched frames, and every one of them absolutely precious.Photo Grouping

If reclaiming the surfaces and decluttering is a goal, one solution I offer is to make groupings of family photos and hang them up. Sometimes we trail them down stairways, or they pop up in a dining room. Grouped this way they tell a compelling story, invite perusal, gladden the heart to see your family gathered around you.

My Photo GroupingThe family photos I have grouped in my dining room around the oval mirror feature Olive Van Vliet at the top, my business’ namesake. She has now been in various movies and TV shows, as the prop folks seem to like the arrangement when they use my house for film.

I have a client who has vintage photos from her girlhood in Cuba, I like to keep the black and white vintage photos in their own groupings, when possible. She had so many, and many of them were already framed, so we just went with the flow and kept the eclectic mix of frames.Wall Grouping

But often the myriad pictures are just the tip of the iceberg! Lurking in the back of the closet — or right under the couch — are boxes and boxes of photos. What to do with all of them, how to corral them, make sense of them, preserve the memories? I met a woman who does just that, Martie McNabb from “Memories Out of the Box”.

In her own words, Martie who is a member of the Association of Personal Historians, organizes and curates family photos and documents to tell the story of her client’s lives. She calls it “preserving their past and telling their story”, a story she learns from sifting through what’s often boxes and bags full of old documents and photographs. The intimate lens through which she sees her clients’ lives, the objects they deemed important enough to hold on to over years and sometimes decades, allows her to build their story.

Most clients ask that Martie compile their archives into a book. She says that 95% of the time, she does ends up making a physical book, but also creates multimedia displays shown on flat screen televisions or in digital frames. Each project she works on presents different challenges. She put together a book for one of her client’s sons, representing his life from birth through college graduation. His archive contained some of his early ”books” written in school, a tooth, airplane boarding passes and his father’s college id among other memorabilia.

Another client asked Martie to archive her grandfather’s story. A man who lost his legs and sight in World War II, the client’s grandfather managed to come back from the war impossibly positive and raised enough money for his family to survive.  Everyone in the client’s family wanted the book Martie created, so she scanned it, made seven copies and took the original to a book conservator.  At times, instead of creating new books, Martie works on things that are already made but in such bad shape that people can’t even touch them.

It is a fine thing to have personal historians among us, if not to personally curate for us, to remind us of our relationship to the past. I feel inspired by Martie, and am glad to recommend her to my clients yearning to break out of the box(es).


Tangerine Dreaming

Comments Off on Tangerine Dreaming Written on April 5th, 2012 by
Categories: Olive Blog, Olive Design
Tags: , , , , , ,

Robert Wilson Associates ShowroomI was doing some furniture shopping at the 200 Lex building last Friday and I was reminded anew about the power of color to move people. I saw a lot of Spring colors and plenty of the new NOW color.

For some time I have been getting glimpses of this really powerful reddish orange, first bits and pieces and then more and more and then Whammo!Robert Wilson Associates Showroom

From the Pantone folks:

Pantone Reveals Color of the Year for 2012:

PANTONE 17-1463 Tangerine Tango

Dance into the New Year with this vivacious and appealing reddish orangeTangerine

CARLSTADT, N.J., Dec. 8, 2011 – Pantone LLC, an X-Rite company (NASDAQ: XRIT), and the global authority on color and provider of professional color standards for the design industries, today announced PANTONE® 17-1463 Tangerine Tango, a vivacious, enticing hue, as the color of the year for 2012.

Tangerine Tango, a spirited reddish orange, continues to provide the energy boost we need to recharge and move forward.

For more than a decade, Pantone’s Color of the Year has influenced product development and purchasing decisions in multiple industries, including fashion, home and industrial design, as well as product packaging and graphic design.Robert Wilson Associates

This new color it seems is everywhere. One of the showrooms I visited, Global Views, has gotten the message loud and clear. Their showroom was an homage to this delicious color. But it becomes, as Pantone tells us, a driving force. Not only do I see it in the home furnishings and apparel market, but as a back drop color in ads, like Gap Kids.

I have always been excited about color, as an artist I loved mixing it and creating with it, and as a textile designer creating various colorways for different patterns was always a welcome challenge. When I worked at Gear with Raymond Waites, I remember him telling us how important color was in selling the fabric.  No matter how fantastic the design, it was the color that moved the consumer. “90% of the appeal is the color” I remember him telling us in a design meeting.

Spring Colors

As an interior designer I know firsthand how much change a coat of paint can bring in a room. Color shifts things in a major way, sets mood and tone. Just a few nights ago I ran into a client from a few years back who told me she still loves the custom color I made for her dining room.

Bloomingdales Window

Our appetite for color seems to change seasonally. In addition to the new NOW color of tangerine, I see the Easter colors being trotted out as well. They remind us of Spring and are fresh and welcome after a dreary winter. They come to us naturally in the flowering trees and early spring flowers. I am ready to bring the flowers inside and enjoy the Season’s color in my home, while wearing my Tangerine Tango t-shirt.


Fun Framing Ideas

Comments Off on Fun Framing Ideas Written on February 8th, 2012 by
Categories: Decorating Ideas, Olive Blog
Tags: , , , ,

Fun Framing IdeasOnce you have filled up the front of the fridge, sometimes the Kid’s art needs to move onto the walls, and there comes a time when you want something a little fancier than scotch tape on the corners to hang it.  Then it’s hard to decide which pieces and the stuff just keeps on coming…

I developed for one of my clients a set of frames that can beautifully showcase your young Artists best work, and then, easily opened up to change out the artwork with a new piece.  I use metal turn-buttons on the back instead of fitting the artwork with points or brads.  You can change the look whenever a new batch comes home from school.  Best of all the artwork looks amazing when it’s showcased in a good-looking frame, and looks great on your walls.  Buy real wood frames for this project, as the pressboard varieties don’t take the hardware well, and won’t be as successful.  The wood grabs the screws better, and the frames are sturdier.

Fun Framing Ideas

See pics for tools and hardware needed.  I recommend plexi for safety.

A client I visited the other day, had a great display of framed work.  She used inexpensive frames from Ikea to showcase interesting papers that she had purchased.  Often grouping a set of framed pieces will function like a larger piece of art.

Fun Framing Ideas

She used them over the bed, which creates the visual drama of a headboard, and the white frames match the bedroom scheme. The same idea is used over the stairs, in black frames.  It’s an inexpensive way to get visual interest on the walls.  And as you are not invested heavily into it, you can feel free to change at whim.

Fun Framing Ideas


Salvaging a damaged caned chair

Comments Off on Salvaging a damaged caned chair Written on June 10th, 2011 by
Categories: Olive Blog

I like fixing stuff, and resurrecting lost causes.  Most notably I make my line of lamps from bits and bobs and vintage pieces, and turn my attentions to furniture when it’s broken down.  But one thing I have no idea how to fix is caned furniture.  Which is a shame, because I really like it.  But if you live in a busy household with pets and kids and the occasional film crew wreaking havoc, caned chairs can be a bit…temporary.  I have a few of them in the basement waiting for attention.  I really liked the chairs in the dining room, except for that foot-sized issue in the corner.


caned chair

Recaning it would probably be pricey, and I currently don’t have anyone in my rolodex that could do it.  And maybe such a fragile thing was not the best idea for my household.  So I took it to Das, my favorite local upholsterer, with a piece of fabric, and converted it to an upholstered dining chair.


the finished chair

I think it looks really great,  and it was a nice way to save the chair.  It has inspired me to pull the other 2 family antique chairs out of the basement!  They will be getting the same treatment soon.  While I had hesitated before to take such liberties with my grandmother Olive’s nice walnut side chair, now that I see how great this one came out, I think it would be nicer to change it and use it then leave it languishing in the basement with the busted cane.

Olive Blog

5 Comments Written on May 27th, 2011 by
Categories: Olive Blog

olive design studio pictureAlthough this is my first foray into the real blogosphere, I have been informally “blogging” with friends and clients for decades! I love to share information about what I see and find in the marketplace…things like green alternative building materials and cleaning products, paint and home furnishings. I cruise a stack of shelter and trade magazines every week and gather ideas, trends, products, and accessories that I think could be game-changers in your home or mine. I am on a first name basis with area upholsterers, painters, plasterers and installers of every stripe. I live in a great old house with loads of character and charm, but it has to stand up to a daily assault from two kids and two pets! If you read my blog regularly there will be plenty of pearls of wisdom to help you live more beautifully, comfortably, and conscientiously. Have a great Memorial Weekend and tune in next week!