Or should I call it funky improvements? Or love your retro? Or the I’ll-renovate-after-I-pay–for college makeover.
Sometimes renovation is just not the right solution, whether its time, mess, or budget considerations. So you make the best of it and just go with it.
The point in case for me is the Pink Bathroom. I don’t know who came through this neighborhood in the 40’s, but I do know they were pretty darn persuasive and that I am not alone with my Pink Bathroom. I found a website called “Save the Pink Bathrooms” created by Pink Bathroom advocate Pam Kueber.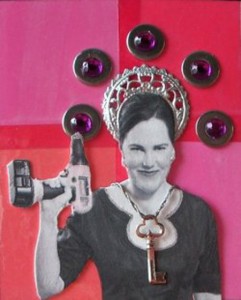
From Pam’s website:
5 million pink bathrooms — I believe that pink was the single-most popular color for bathrooms in the 1950s, and estimate that some 5 million pink bathrooms went into the 20 million+ homes built in the United States from 1946-1966.
I wonder if she is including the retrofitted pink bathrooms from turn of the century charmers such as we have here, because there are pink bathrooms a’plenty.
Read on for 10 facts about pink bathrooms, I like #2:
“Mamie Pink” – First Lady Mamie Eisenhower was pivotal in popularizing the color, which is often referred to at “Mamie Pink” or “First Lady Pink.” Her husband President Dwight D. Eisenhower sent her pink flowers every morning. She re-decorated the private quarters in the White House in pink — so much so that reporters called it the “Pink Palace.” And, the bathroom in her Gettysburg retirement home was pink down to the cotton balls.
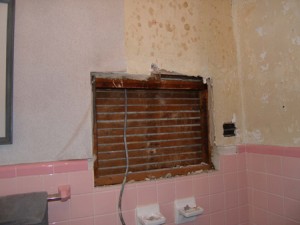 I took a photo of the start point in my bathroom so perhaps it will hold my feet to the fire to get this done and I hope to put up “finish” photos by Christmas. Some things I want to change: wall color, lighting, and the medicine cabinet. The fluorescent fixture attached to the top of the med cabinet died some time ago. I have a cool pink chandelier that I made from lamp parts, but nothing over the sink. So, in order to get all that happening, we had to remove the medicine cabinet from the wall and detach the light- I hired an electrician to put in a box for my lights, and a GFI outlet so I have somewhere to plug in a hairdryer.
Unfortunately, when the medicine cabinet came out, a few of the tiles did also, and one of them broke. I was already missing one of the pink bullnose trim tiles from it loosening and falling. To replace the missing tiles, I went to the site recommended by Save the Pink Bathroom, World of Tile and they told me to get my tile and send it to “Chippy” to match. It’s going out today! I will tell her how much I need and hope she can help me out.
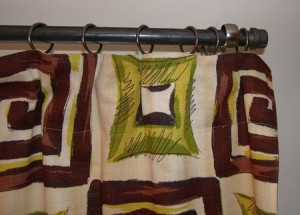
I am contemplating HC-136 walls, a great historic blue-green, dark gray on the ceiling and, happily, my hand printed Fabric Workshop curtains and shower curtain will look amazing with this renovation.
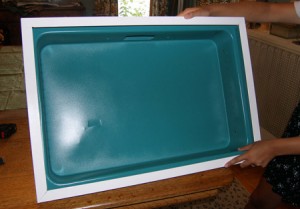
The medicine cabinet was a disaster, rim and body were both rusted. As I could not find a similar size cabinet and didn’t want to get into massive wall renovation (and mess up the tile issue even more!) I brought my cabinet in to get powder-coated at Ever-nu metal, in Park Slope. For around $300 they took the body of the cabinet, sandblasted off the rust and made it turquoise (lots of colors to choose from!) and the outer rim is a neat white gloss that will look fab against the pink tile. I reckoned that it was less expensive to do this than to get a new body, pay the shipping, and pay a contractor to resize the opening. The original size was just fine, the hole already there, the sliding mirror doors in good shape (and safely put away until we reinstall this cabinet). It was surprisingly easy to take out the cabinet, only 4 screws held it in place.
 Stay tuned for notes from the battlefield. This afternoon I will make matters worse by taking off the rest of the wallpaper. I always tell my clients as they get antsy watching the progress of renovation mess up their house- you’ve got to break some eggs to make an omelet….
