Curbside or thrift shop treasures while a bargain, usually lead me to the question- will I ever really fix this up to use it? It depends on the level of decreptitude- or for me, if it’s the exact size piece I need for the space, and if its basically a better piece of furniture than I can buy cheaply. While my kids hated the groovy painted furniture I put in their rooms and pined for Ikea almost-wood, I prefer a solid piece of real wood furniture in a classic shape and solidly built. I can see past the peeling paint and occasional dangling part to what it could be with a little elbow grease. But filling the space requirements is usually what tips me into actually doing the work on it.
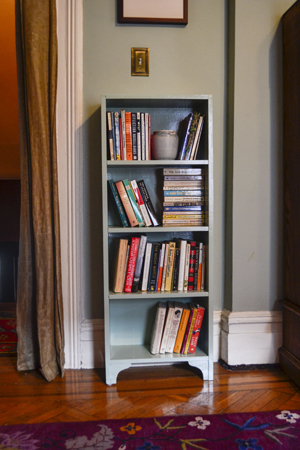
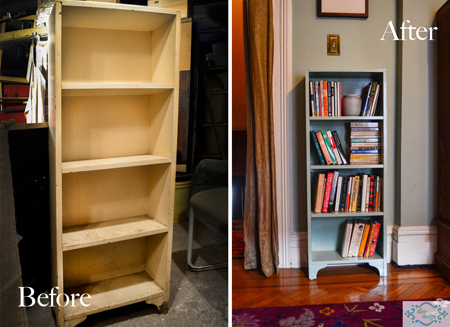
My latest rescue was the perfect sized bookshelf for my bedroom, when my excess books were stacked in front of the radiator and collecting dust on the floor. It was old, had a gazillion coats of paint, some peeling and the front leg was cracked.
Before you do anything, take off any paint that looks like it is ready to jump ship anyway, using a spackling knife rather than a scraping tool, so you don’t pull up tight paint- I didn’t want to strip it (way too much work for this piece) but if you have any notions that new paint glues down peeling old paint, disabuse yourself of that idea. It usually means your new paint will soon come off as well. Top coat is only as secure as the bottom layer.
After the removal of loose stuff, take a sander to it- it will smooth down the previous layers, some of the brush marks and let you know where drips are that you haven’t noticed. Sometimes I help those off with a sharp razor.
Orbital palm sanders are cheap and easy to use, they should be a part of any handy-person’s tool collection.
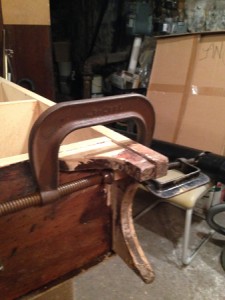
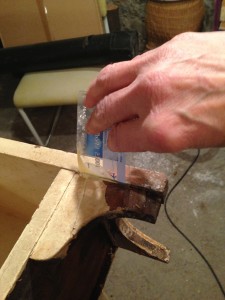
Fix the busted leg- I use an old your-name-here credit card that comes in the mail every day with new card offers, its just the right thickness to work the glue into the crack.
I use clamps to hold it in place while it dries, and glued a block into the corner behind the leg to give it more stability. Cut the block down so you can’t see it from the front. I clamp the leg so the glue can set.
Then predrill a hole, and run a flat head screw into several points to give it extra strength and stabilize it.
 If you have the bits, its nice to counter sink the hole (a wider hole at the top to accommodate the flat screw head) so the screw isn’t noticeable, you can fill the top with compound to make it invisible. This fix it step took about 20 minutes, and now I don’t have to worry about the leg cracking off, and the fix is invisible.
For the paint job, I use the same type of paint, in this case oil-based. I prefer alkyd paint for furniture anyway, as its tougher, but always best for paint adhesion to stick to the original paint type. For my color, I mixed some leftover oil based paints, to get something fairly close to the wall color. I want the bookcase to blend in, not stand out. If it was a more interesting accent piece I might have gone with a bolder color.
Once it’s done and in place, I’m glad I took the time!

For all the pinners out there:
Tags: Bedroom, Brooklyn Design, Brooklyn Interior Design, Colors, Green Ideas, Upcycle


