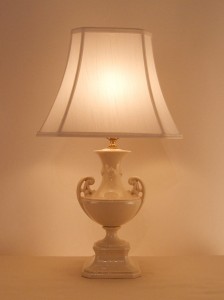
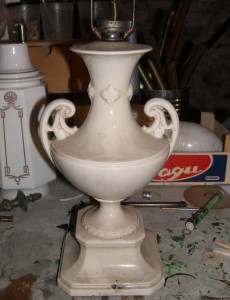
 I have been making lamps from recycled and vintage parts for a number of years and love the creative buzz that comes from taking interesting parts and making something unexpected, beautiful and functional. But sometimes you stumble on a vintage lamp that just needs a little loving care and restoration, some updated wiring, a pretty shade. I found this lovely piece heading toward a dumpster as one of the houses near me was being emptied for sale, its owner having moved to smaller digs. I loved the classic shape and underneath the dirt and rusted parts, I knew there was an amazing lamp waiting to happen.
First I ditch the cord; chances are on a lamp this old the wire is shot. My rule of thumb is that if when I bend the wire it feels like it is going to crack then it gets replaced- or if it predates polarized plugs and both of the prongs are same-size. I buy wire and plug sets from a parts supplier, but if you are doing it yourself you can get wire and snap on plugs from a hardware store. If you don’t know how to wire a lamp, there are lots of places to get it done. I recommend Ricky from Lamp Warehouse. (Lamp Warehouse recently downsized when it changed owners, but they were savvy enough to keep Ricky on as the repair department.) While I do my own wiring generally, I bring him more complicated things like chandeliers and multiple socket fixtures and he does a fantastic job.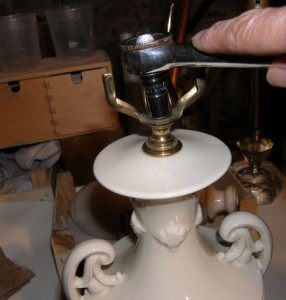
Looking at this lamp, I love everything about it and don’t feel much need to embellish, but I do see one area that needs improvement. The socket for this lamp is set right on top of the ceramic base. In order to site a shade properly you might miss some of the prettiness of the full lamp piece- or alternatively have some of the socket exposed. Usually you want a shade to come down to the bottom of the socket. Also, the harp saddle (which holds the wire “harp” that supports the shade) is the old fashioned type- it can’t be changed for size unless you take apart the lamp. I replace it with a universal saddle so, I can change harp size without having to take off the socket. I take the lamp apart, unscrewing it from the top socket (on some lamps its easier to get from the bottom- wherever it gives most easily) and disassemble. My dad taught me this trick- if there are a lot of small parts- and with many lamps there are, line up the pieces carefully in the order you took them off the center rod. Then, after cleaning or refinishing each piece, put them back on in the same order. I hate getting a lamp all put back together and then finding another piece on my workbench. When re-assembling my vintage lamp I find a rod from my workshop that is about an inch longer; when I am putting the lamp back together, I will add a 1” brass “neck” to the top. This gives me a little clearance from the bottom of the shade to the top of the lamp, you will see more of the lamp and it doesn’t “squish” the lamp shape if I want to cover the whole socket with the shade.
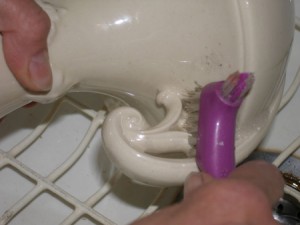 While the lamp is apart I scrub it thoroughly and let it dry. The old ceramic can take a lot of cleaning and is very durable. Sometimes under all the dirt you find a flaw, this time I think it was probably a gap in the original glaze, but I don’t want it to catch dirt so after the lamp base is dry I carefully put a little clear nail polish in the ding and it fills it nicely and evens the sheen so you don’t even see it.
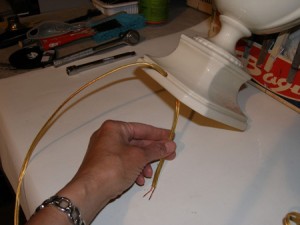
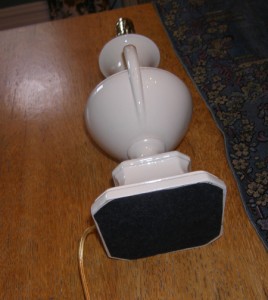
When you are ready to run the new wire, make sure you start through the “wireway” hole in the base, so the lamp will sit flat on the table. When all is assembled, felt the bottom so that it doesn’t scratch your table. I tighten with a socket wrench, tight enough so it feels stable, but with glass or ceramic you have to make sure you don’t put it together so tightly you crack the pieces. Sometimes where metal check washers meet the ceramic I use a rubber washer to cushion it so I can tighten it more without damaging the base.
Finding the perfect shade is another story that will end up as a blog one of these days….My workshop has come to critical mass with vintage parts bursting out of all my cupboards. Keep an eye peeled on my Etsy store as I add new lamps over the summer, and plan for a Fall Lamp Salon.
