Painting cabinets is a great way to spend $15 on a can of paint and have a totally renewed surface, bringing in a color punch, freshening up the space. There will eventually be chips, which can be touched up or eventually recoated- but I figure its worth the minimal outlay in materials and an afternoon of your time for the good looking outcome. I recoat the cabinets when they become chipped, but also to refresh the finish so it stays cleaner and is glossy, the surface dulls with wear and cleaning products.
 I have a vintage metal kitchen cabinet underneath the sink, it came with the house and was already (badly) recoated white when I bought the house 20 years ago-so I started off with paint over paint.
 It was oil paint, and I used oil paint going forward. I prefer oil for furniture and cabinetry but it does create a stink. I always liked the smell of paint, associating it with Progress and Fresh Starts until I learned that the smell was actually neurotoxins. There are Green latex products with little or no smell, but I deal with the stink in exchange for a much tougher surface; I recommend doing this project when you can have the windows wide open. If you use latex, get a primer that can transition the surface from oil to latex.
There was a pronounced 20” drip ridging the front, and cabinet was dinged and chipped. I prepped it by scraping the drip off with a razor lightly sanding the whole surface, and cleaning with a Tri-Sodium Phosphate based cleaner to remove any grease or residue.
My uncle developed this super strong stuff called Master Klean, and I bring up a case of it every few years when visiting family, but any strong cleaner with TSP will do it- or you can buy the powder version TSP and mix a solution yourself. Use gloves.

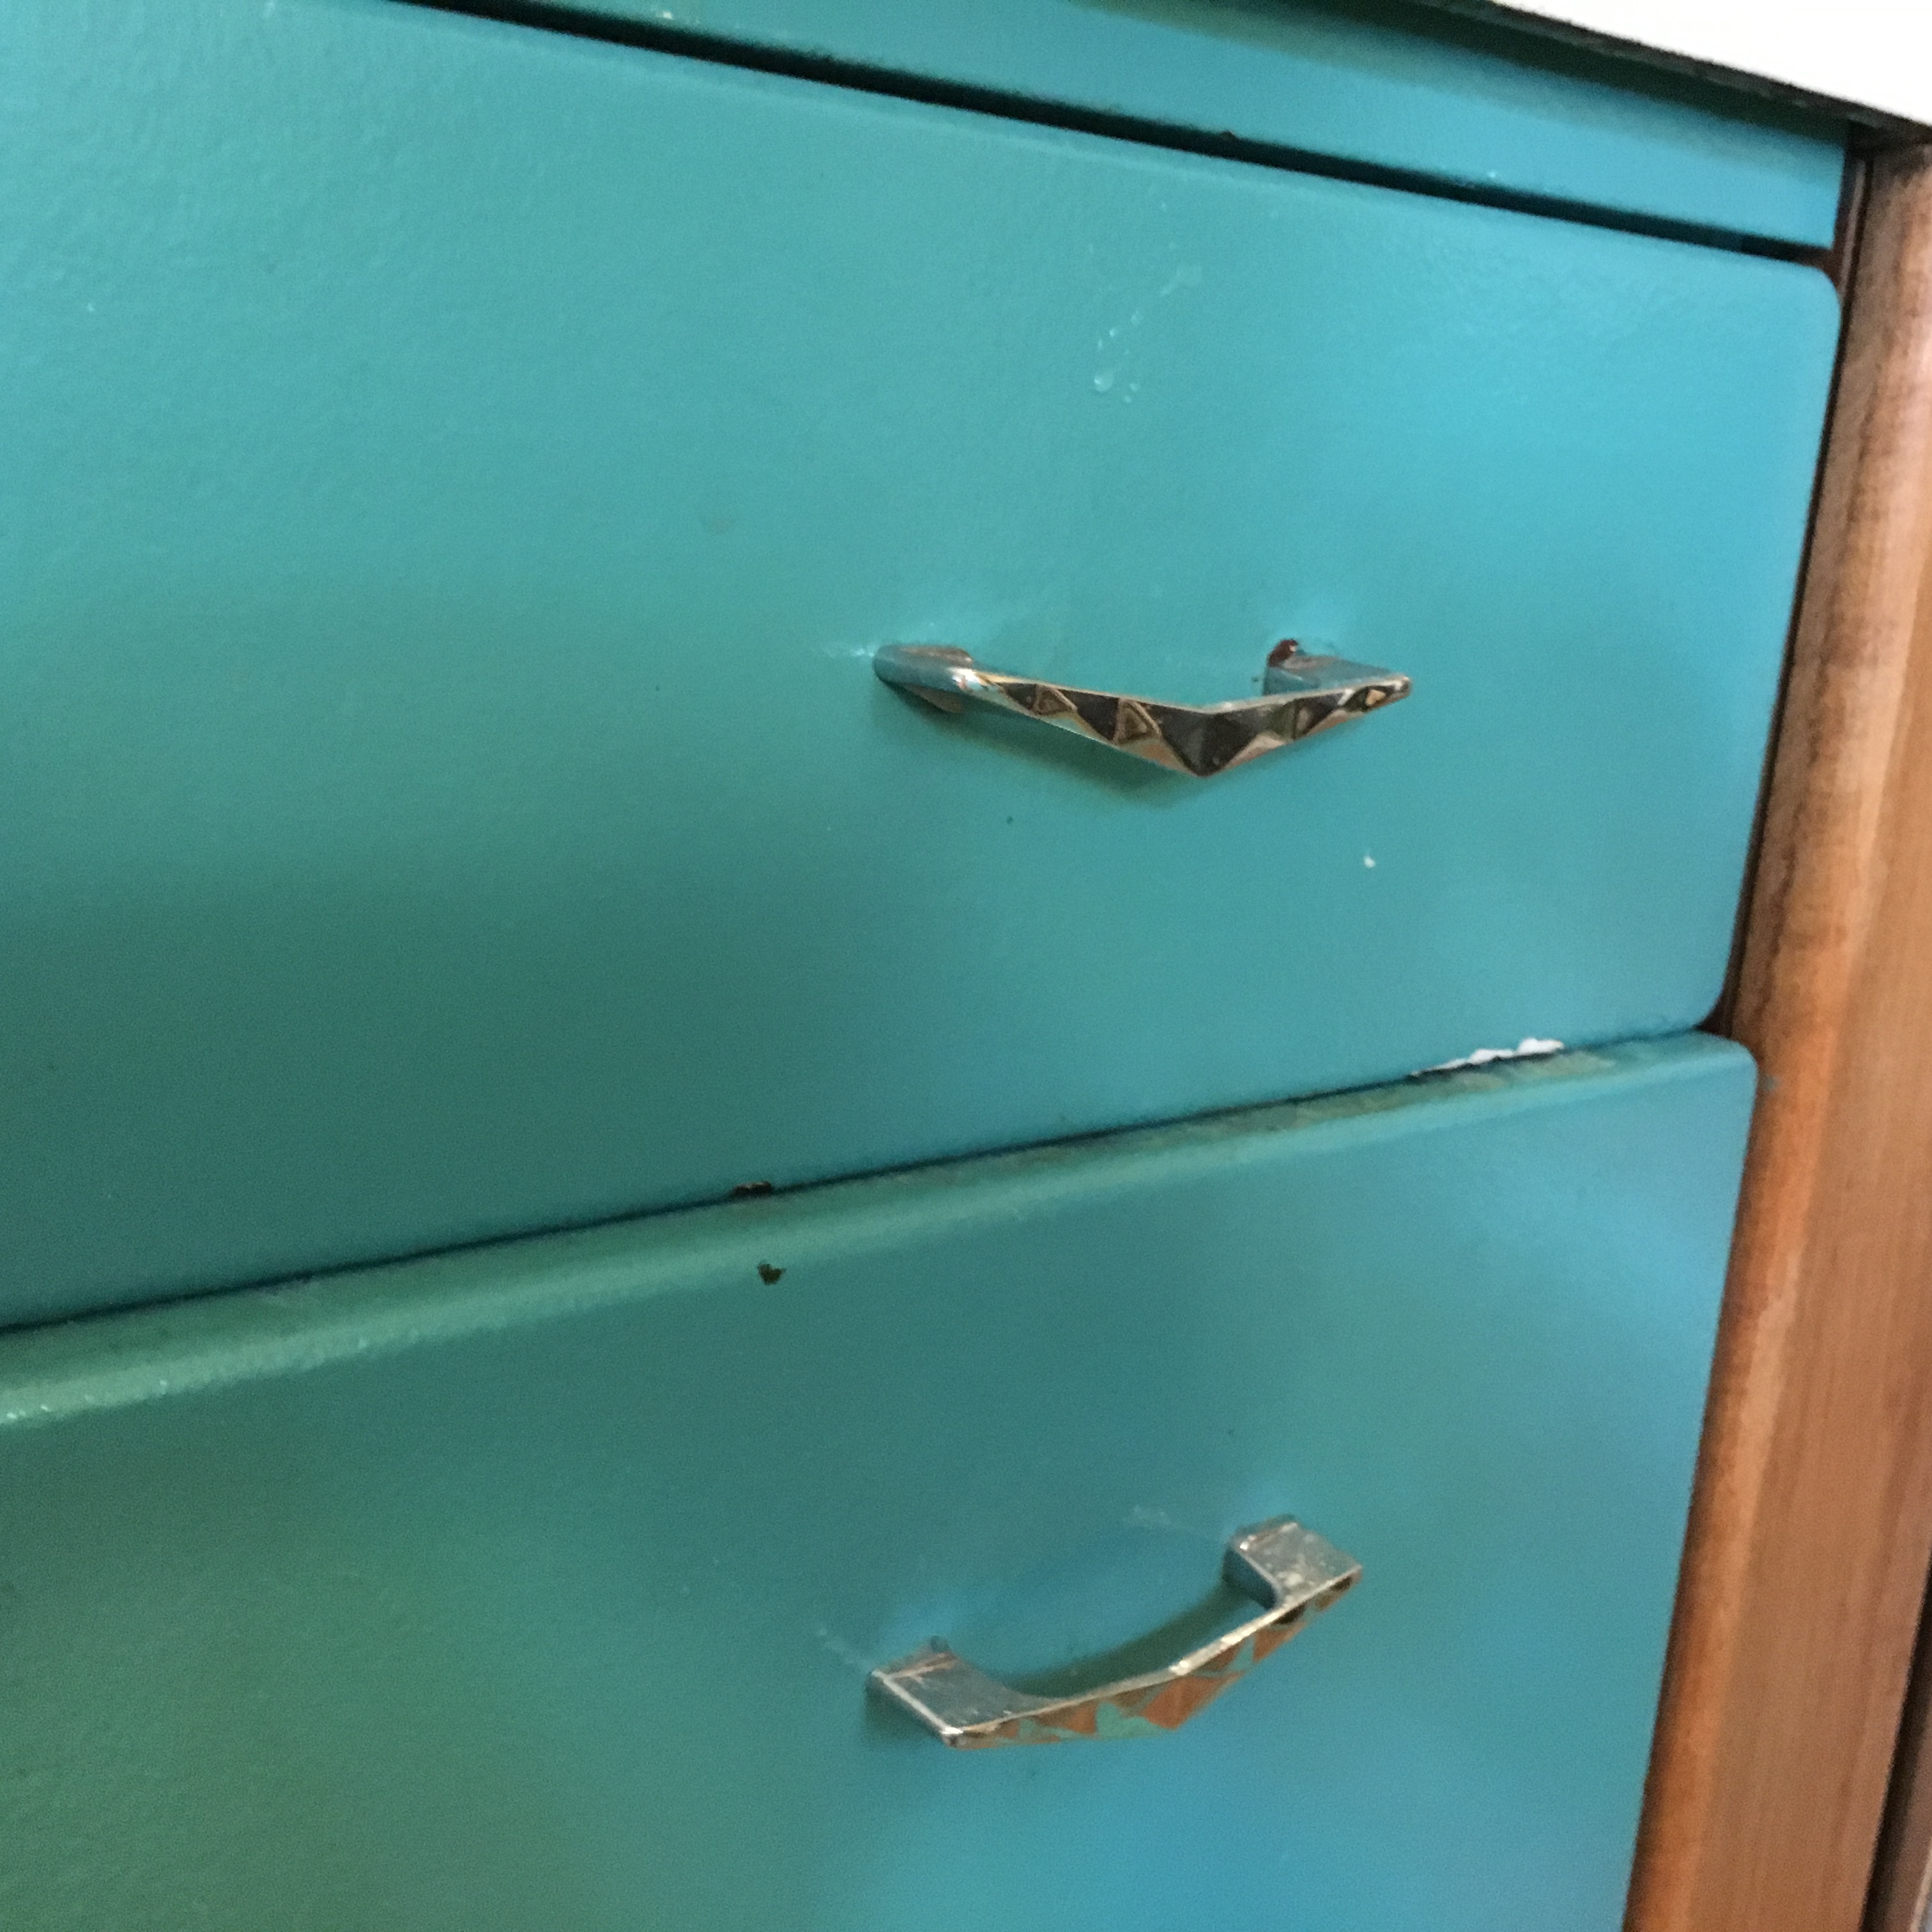
Where drawers meet, or anywhere there is scraping or chips, give some extra sanding to reduce the chip “crater “and it will make most single coat chips disappear.
As I was doing the cabinets, I noticed how terribly shabby my 15 year old white behemoth refrigerator looked.

I decided it was okay to call that a metal cabinet as well- and pulled out the fridge so I could do a test run on the hidden side. I prepped it the same way, a light sanding to give the surface some tooth, (gives the new paint better grip) and scrubbed it with strong cleaner to get rid of any dirt or residue that would interfere with paint adhesion. The test side looked amazing so I proceeded. Special considerations when doing a fridge: mask out ¼” or so from the seal.
You don’t want to paint the surface the seal hits, it will have too much wear and tear, and potentially chip. And you don’t want to have to cut in all the way around the seal, which is a fairly irregular line (on my fridge, anyway).
Do take off the handles first. It was a bear getting them off but being able to paint the whole front of the fridge with a roller gives me a fantastic finish, and if I had to go around the handle with a brush it would look messy.So I left a quarter inch “wrap” onto the face of the fridge sides, leaving me well clear of the seal, repeating this on the the door.
What took even longer than wrestling handles off was moving all the magnetic poetry off the side of the fridge. I want to leave the teal surface unadorned, so I put a magnetic bulletin board

on a nearby door to deflect anything from landing on the fridge door. The grubby white handles got a good cleaning with the tri-sodium phosphate cleaner and they brightened right up.
I had always liked the gaily colored fridges from Big Chill, and this is my no-frills version. With the crisp white handles and cool teal color, it has a little mid century snap.
Totally worth my leftover cabinet paint and a few hours of my time.
DO try this at home.
